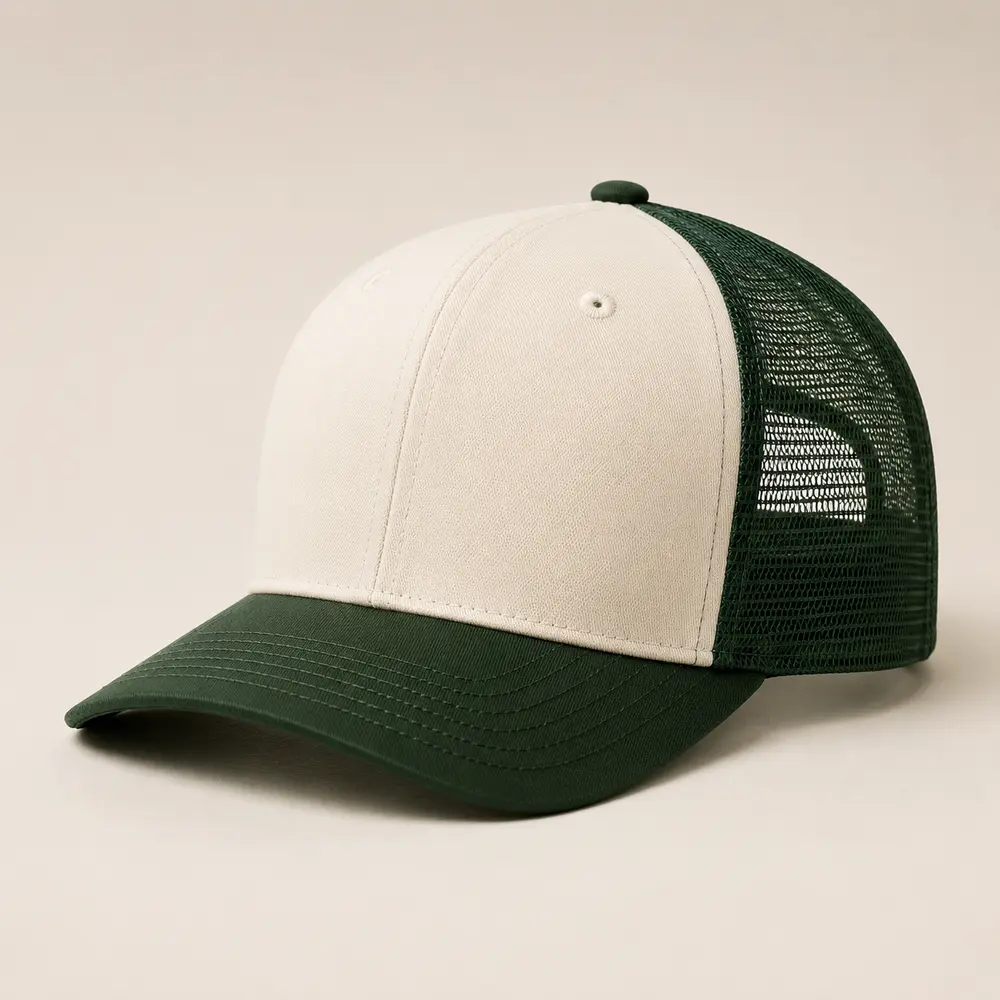
Embroidery digitizing converts approved artwork into machine instructions, but the digitized file is not a neutral copy of the logo. Stitch type, direction, density, sequence, underlay, pull compensation, backing and placement all affect how the design sits on a curved cap. A buyer should approve the embroidery on the intended cap construction, not only a screen preview or an estimated stitch count.
This guide is for brands, clubs, distributors and merchandise buyers sourcing embroidered baseball caps, trucker caps, snapbacks, bucket hats or performance caps. Use it with customization options to compare decoration routes and request a custom headwear quote when the cap style, artwork and quantity are ready for review.
Quick answer: what must a buyer approve for cap embroidery digitizing?
Approve the complete embroidery system:
- Final artwork file and finished physical logo dimensions
- Cap style, panel structure, fabric and exact placement
- Flat or raised embroidery areas
- Stitch types, direction and visual priorities
- Underlay, backing and support appropriate to the cap
- Thread colors and approved physical references
- Small text, outlines, gaps and minimum visible details
- Digitizing version, color sequence and trim points
- Finished sample viewed on the assembled cap
- Written revision and bulk-production reference
A high stitch count does not automatically mean better embroidery. The correct file uses enough stitches and support to reproduce the approved design without unnecessary bulk, distortion or stiffness.
1. Start with the final physical size
Digitizing should begin from the size the logo will be sewn, not from an artwork file that can be enlarged indefinitely. State the finished width and height in millimeters and identify the placement: front center, side panel, rear panel, visor or another confirmed area.
Check the available embroidery field
A low-profile cap, structured front panel and curved side panel do not offer the same usable area. Ask the supplier to confirm the embroidery field for the selected cap and machine setup. Keep critical details away from seams, eyelets, visor joins and panel curves unless the construction has been sampled for that placement.
For a wider placement plan, use How to Specify Logo Placement on a Custom Cap: A B2B Buyer Guide and show all front, side and rear marks on one approval sheet.
2. Simplify artwork by physical result, not screen appearance
Fine lines, narrow gaps and small text can look clear on a monitor but close up when converted to thread. Ask the digitizer to identify details that may need widening, merging or removal at the final size.
Protect the identity of the logo
Simplification should preserve the features that make the mark recognizable. Approve any change to letter shapes, negative space, borders or proportions before sampling. Do not allow a production file to become the only record of those changes; retain the original artwork and a labelled digitizing preview.
Use vector artwork and a visual reference
Provide editable vector artwork when possible, plus a clear PNG or PDF showing intended colors and proportions. Name the approved artwork version and keep that name in the sample record. How to Prepare Logo Artwork for Custom Hat Embroidery: A B2B File Checklist explains the broader file checklist.
3. Choose stitch types for the design
Common embroidery elements can use fill stitches, satin stitches, running stitches or supplier-specific combinations. The choice depends on line width, area, direction and desired surface.
Satin stitches
Satin stitches can suit letters, borders and medium-width elements when the span is appropriate. Long unsupported spans may snag or lose shape, while very narrow satin areas may not remain clean. Approve the physical result rather than relying on a generic rule.
Fill stitches
Fill stitches can cover larger areas. Stitch direction and segmentation influence surface texture, light reflection and distortion. Large solid fills can also make a front panel stiff, so compare coverage against the intended cap hand feel.
Running stitches and fine detail
Running stitches may reproduce thin outlines or internal details, but visibility depends on thread, fabric, contrast and stitch path. Do not assume every fine line in the artwork will remain readable on a textured or dark cap.
4. Review stitch direction and sequence
Stitch direction creates visible texture. It can separate adjacent areas of the same color, support the visual shape of a letter or make a surface appear inconsistent if directions are poorly controlled.
The sewing sequence also matters. Areas stitched later can overlap or cover earlier edges. Ask for a color and element sequence when several parts must align closely.
Check:
- Direction of fills and satin columns
- Order of background, border, lettering and highlights
- Registration between adjacent colors
- Trim points and visible connecting threads
- Whether small elements are buried by later coverage
- Whether the design pulls toward one side during sewing
5. Understand underlay, backing and panel support
Underlay stitches help stabilize the top stitches and separate them from the fabric surface. Backing supports the material during embroidery. Their selection depends on the fabric, logo coverage, cap structure and desired finish.
Underlay
The digitizer may use edge, center, zigzag or other underlay strategies. Buyers do not need to prescribe a generic underlay without technical evidence, but they should inspect whether borders are supported, fabric shows through and the top stitches sit consistently.
Backing and stabilizer
Ask which backing or stabilizer will be used and how it will be trimmed. Check the inside surface for sharp edges, excessive residue or bulky layers. If the cap is unlined, review comfort where the embroidery contacts the wearer.
A backing used for one cap fabric is not automatically right for another. A change from cotton twill to mesh, nylon or a coated performance fabric may require a new embroidery assessment.
6. Treat stitch count as a quotation input, not a quality score
Stitch count affects machine time and can influence cost, but it should not be used alone to compare embroidery quality. Two digitized files can have different counts because of size, density, sequence, trims, underlay and stitch strategy.
Ask the quotation to state whether stitch count is estimated or calculated from the final digitized file. If the logo size or artwork changes, request an updated count and price basis.
Avoid approving a file simply because it has more stitches. Excessive density can cause stiffness, thread breaks, puckering or needle stress, while insufficient coverage can expose fabric or weaken edges.
7. Approve flat and 3D embroidery separately
Raised 3D embroidery uses a different construction from flat embroidery and requires artwork suitable for raised areas. Thick strokes and controlled borders generally translate more predictably than fine text or tiny gaps.
Mark exactly which elements are raised and which remain flat. Approve:
- Foam or raised structure location
- Border coverage and exposed edges
- Final height and surface consistency
- Corners, letter openings and small gaps
- Interaction between raised and flat sections
- Whether the design changes the cap's hand feel or front-panel shape
Do not describe all embroidery as 3D simply because thread has surface texture. The raised process must be intentionally specified and sampled.
8. Control thread color on the actual cap
Approve thread colors against physical references and the selected cap fabric. Thread sheen and stitch direction can change the perceived color under different lighting.
Compare the embroidery with the crown, visor, underbrim, labels and other printed elements as one product. How to Approve Embroidery Thread Colors for Custom Caps provides a dedicated color workflow.
If a logo uses several close colors, create a numbered color map. Do not rely on names such as “navy” or “gold” alone.
9. Sample on the intended cap construction
A loose fabric swatch can help review color or basic stitch behavior, but it does not prove the result on the finished cap. Crown curve, panel seams, backing access and hooping all affect registration and placement.
Approve one assembled cap using the intended:
- Crown profile and panel structure
- Fabric and color
- Front support or unstructured construction
- Logo size and placement
- Digitizing file and thread colors
- Backing, underlay and raised elements
- Closure, inside labels and other decoration
Photograph the sample from the front, both sides and inside. Record the file name, dimensions and revision with the physical sample.
10. Physical sample approval checklist
Use the assembled cap and a written specification:
- Measure finished logo width, height and placement
- Compare overall shape and proportions with the approved artwork
- Check small text, counters, gaps and border thickness
- Review stitch coverage, direction and surface consistency
- Look for puckering, distortion, skipped stitches or loose ends
- Check registration between colors and between flat/raised areas
- Inspect trims and connecting threads
- Review the inside backing and wearer-contact surface
- Compare thread colors under consistent lighting
- Confirm cap shape before and after embroidery
- Save approved photos, digitizing version and physical sample
- Define which changes require a new sample
If the cap fabric, crown structure, logo size, position or embroidery method changes, confirm whether the existing digitized file remains suitable.
11. MOQ, sampling and quotation conditions
For regular baseball, trucker and snapback cap programs, the LOSTCAPS business baseline starts from 50 pieces per color and design when the selected construction and embroidery are feasible. Different colors or designs should not be combined to reach one 50-piece minimum. Performance caps in existing colors and structures can start from 50 pieces; non-existing colors or structural changes generally require 300 pieces per color and style.
A typical cap sample is planned at 7–10 days after the specification, artwork, materials and payment are confirmed. This is a planning baseline, not a fixed promise for every embroidery file or special construction.
Request a quotation that separates:
- Cap style, fabric and color
- Final logo size and placement
- Flat and raised embroidery areas
- Estimated or final stitch count basis
- Digitizing, setup and sample charges
- Thread colors and artwork versions
- Labels, hangtags and packing
- Quantity per style and color
- Delivery term, destination and freight assumptions
12. Quote-ready embroidery brief
Send one controlled package containing:
- Cap style and reference images
- Intended wearer and use
- Fabric, color and crown structure
- Editable artwork plus labelled preview
- Final logo width and height
- Placement measurements from stable reference points
- Flat or raised embroidery direction
- Thread color references
- Quantity per style, color and design
- Inside labels, hangtags and packaging
- Delivery country and target date
- Person responsible for sample approval
With 15 years of manufacturing and export experience, LOSTCAPS can review a defined cap brief and identify the details that require sampling. Final feasibility, price and timing depend on the selected cap, artwork and production specification.
FAQ
What is embroidery digitizing?
It is the process of converting artwork into machine instructions that define stitch types, direction, sequence, density, underlay and trims. The digitized file is production-specific and must be approved on the intended cap.
Does a higher stitch count mean better quality?
No. Stitch count affects time and cost, but quality depends on the complete digitizing strategy, cap fabric, support, thread, machine setup and sample result. Too many stitches can be as problematic as too few.
Can one digitized file be used on every cap?
Not always. A change in logo size, fabric, crown structure, placement or flat/raised method can require adjustment or redigitizing. Confirm compatibility before bulk production.
How small can embroidered text be?
There is no universal minimum that works for every font, thread, fabric and machine setup. Provide the final physical size and approve the text on a sample. Small lettering may need simplification or a different method.
What backing should be used for cap embroidery?
The choice depends on the cap material, structure, logo coverage and finish. Ask the supplier to confirm the backing for the specific cap and inspect both the outside result and inside wearer-contact surface.
Should buyers approve a digital embroidery preview?
Yes, but it is only an intermediate check. Final approval should use the physical embroidered cap because curvature, fabric and sewing behavior affect the result.
What MOQ applies to embroidered custom caps?
Regular baseball, trucker and snapback projects generally start from 50 pieces per color and design when the selected construction is feasible. Special materials, colors, structures or complex decoration can raise the practical minimum.