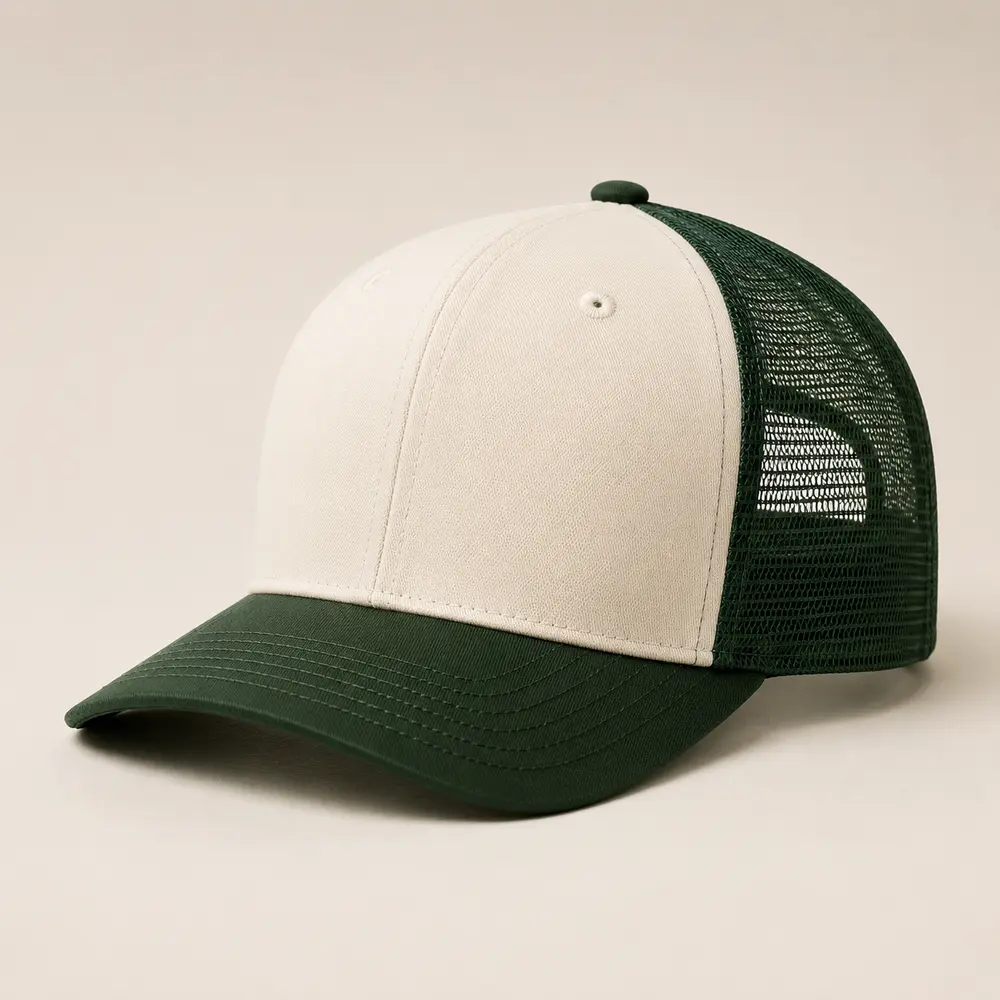
Contrast stitching is a small construction detail that can change how a custom cap looks at retail. A row of light thread on a dark crown can make the panel lines, visor and closure more visible; matching thread gives a quieter finish. But the instruction "use contrast stitching" is not specific enough for reliable sampling or bulk production. A supplier needs to know which seams should be visible, which should blend in, the thread reference, stitch appearance and how the result will be approved.
This guide helps B2B brands, clubs, distributors and private-label buyers turn a contrast-stitching idea into a clear factory specification. It focuses on construction stitching rather than embroidered logos, which are a separate decoration process.
Quick Answer: What Should a Buyer Confirm?
Before paying for a physical sample, document:
- Exact cap style, panel count, crown construction and fabric
- Which seams or edge rows use contrast thread
- Which seams retain matching or standard thread
- Thread-color reference and an acceptable physical color standard
- Number and approximate positions of visible stitch rows
- Start, stop, overlap and finishing points
- How the thread behaves on curved panels and the visor
- Logo, eyelet, button, piping and label clearance
- Inside stitching and comfort expectations
- Sample photographs, signed specification version and bulk inspection method
A color name such as "cream stitching" or "white lines" is not enough for a repeatable order. The construction, thread and material should be considered together.
1. Distinguish Construction Stitching from Embroidery
Construction stitching joins or finishes parts of a cap. It may appear along panel seams, the visor edge, the sweatband attachment, the rear strap or other assembly points. Decorative embroidery forms an artwork or logo using a different set of specifications and often different machine steps.
A buyer might ask for white embroidery on the front and white contrast thread around the brim. These are two separate instructions. Matching their visual colors may require separate approvals because embroidery thread and sewing thread do not necessarily look identical on the finished fabric.
Do not approve thread based solely on a digital mock-up. Review physical stitches against the chosen fabric and logo sample.
2. Map the Stitching by Location
Use one annotated front view, one side view, one top view and one inside view of the exact cap style. Give each proposed stitching zone a simple code, such as S1, S2 and S3.
Common locations to review include:
- Crown panel joining seams, including the front center seam when present
- Topstitching beside seams or around panels
- Visor or brim rows and the line nearest the outer edge
- Sweatband attachment visible at the lower crown edge
- Rear opening and closure strap stitching
- Piping, appliqué or trim attachment, where applicable
Not every cap construction exposes every location. A five-panel cap and a six-panel cap have different seam maps. The buyer should approve the real construction rather than copy a stitching diagram from an unrelated hat.
3. Choose Contrast or Tone-on-Tone Intentionality
Contrast stitching is designed to be seen. Tone-on-tone thread is intended to blend more closely with the base fabric. A mixed specification may use contrast only on the visor while keeping crown seams understated.
Three buyer directions are worth considering:
- Subtle: a slightly lighter or darker thread on selected seams
- Graphic: a clearly contrasting thread that emphasizes specific panel lines
- Controlled mix: contrast on the visor or crown only, with other seams matching
The strongest contrast is not automatically the best choice. High visibility can amplify small differences in line position, stitch length and thread tension. Decide where the visual accent adds value before requesting it throughout the cap.
4. Approve Thread Color on the Actual Fabric
Color references such as Pantone or a physical thread card can guide development, but a printed swatch does not automatically match the appearance of thread sewn through a textured fabric. Fiber type, sheen, stitch angle, outdoor lighting and neighboring fabric colors all influence perception.
Send the base-fabric reference and desired thread reference together. Ask for a stitched test or actual sample section, not only a loose spool photograph. View the sample in consistent lighting alongside the intended embroidery, patch or label. For two-tone caps, confirm whether one thread color is meant to continue across both fabric colors.
Record the approved thread reference and retained sample. Do not promise a mathematically exact match across different materials without specific testing and written agreement.
5. Define Stitch Rows, Distance and Appearance
A phrase such as "double stitching" can refer to different visual layouts. Indicate whether you need one or two visible lines, their approximate position relative to the panel seam or brim edge, and whether the spacing should remain visually consistent around a curve.
Ask the supplier to confirm:
- Number of exposed rows and whether the rows are parallel
- Target position from the seam or edge, with a reference measurement method
- Intended stitch appearance and density direction
- Whether a thread line continues around a corner or stops at a joint
- Acceptable start and end points
- Whether a visible row has a structural function or is decorative
Machine settings and tolerances are construction-specific. Avoid copying an arbitrary stitch-per-inch requirement into an order unless the factory has confirmed the machine, fabric and seam can support it.
6. Review Curves, Seams and Visor Edges
Cap visors are curved or shaped components, and crown panels meet at changing angles. A straight line on a flat drawing may not remain visually straight when the finished cap is worn. Contrast thread makes this more apparent.
For the visor, inspect the distance between the outer edge and nearest visible stitch row at the center and both sides. Look for skipped stitches, waviness and irregular spacing. For crown seams, examine whether topstitching follows the panel shape without puckering. At seam intersections, check whether the thread path is clean and the material remains flat.
Do not request decorative stitches so close to a seam or edge that they interfere with a required construction method. Have the manufacturer assess feasibility before confirming artwork.
7. Coordinate with Logos, Trims and Labels
Embroidery, patches, eyelets, piping and woven labels can interact visually with contrast stitching. The factory may need access around a front logo or a trim attachment, and extra stitch lines can make a small logo look crowded.
Place the proposed stitching on the same approval mock-up as the artwork and trims. Specify whether stitching should pass behind a patch, stop before an applique or continue on each side. If a rear strap has a label, separately confirm its MOQ and attachment: LOSTCAPS rear adjustment-strap sewn labels require at least 300 pieces, so a normal 50-piece base-cap minimum should not be assumed for that option.
No outside customer logos or third-party brand marks are needed to confirm the sewing layout.
8. Check the Inside and Wearer Comfort
A cap should not be approved only from the front. Turn the physical sample inside out and review seam allowances, thread ends, fastening points, sweatband attachment and any backing used for decoration. Confirm whether contrast thread is intended to appear inside or only on the exterior.
Inspect the inside for rough ends, excessive thread tails or uncomfortable contact points around the sweatband. On lightweight technical fabrics, additional needle lines may affect the construction or finish; do not assume compatibility with coatings or waterproof claims. If the selected cap relies on a special performance treatment, request a material- and method-specific feasibility check.
Appearance, comfort and production strength must be assessed together.
9. Use a Physical Sample Approval Matrix
Record each stitch zone in a simple matrix. The columns can be zone code, physical location, base fabric, thread reference, row count, position, visible appearance, inside finish and approval status.
For example, a buyer might assign S1 to the two visible visor rows and S2 to the crown seams. S1 could use a contrasting color while S2 retains tone-on-tone thread. This is an example of how to communicate, not an assertion that one construction is available for every cap.
Review front, side, top and inside photographs of the same physical sample. If one line changes after approval, mark the revised zone and version. Never accept an untracked change based only on a phone message or a cropped photograph.
10. What Should Bulk QC Inspect?
Compare finished caps with the actual approved sample, not a different cap photographed under other lighting. A useful checklist includes:
- Correct cap pattern, fabric and base color
- Correct contrast-thread location by zone
- Consistent visible thread color across the order
- Even stitch appearance and row spacing where specified
- No obvious skipped or loose stitches
- Clean intersections and seam finishes
- No unwanted puckering or visor-edge irregularity
- Correct logo and trim relationship
- Comfortable inside finish and clean thread ends
- Correct size, labels, quantity and packing identification
Agree realistic acceptance criteria and inspection sampling with the supplier before production. Avoid inventing a numerical defect tolerance after finished goods are ready for shipment.
11. MOQ, Sample Timing and Quote Considerations
For standard custom baseball, trucker and snapback caps, LOSTCAPS generally starts at 50 pieces per color and style when the chosen construction and available materials are feasible. Different cap styles or colors do not combine to meet a minimum. A new fabric color, unusual construction, specially sourced thread or complex trim may change MOQ, cost and timing; ask for a project-specific confirmation.
A standard physical cap sample usually takes 7–10 days after the specification, artwork, colors and sample payment are confirmed. More complex development or extra sample revisions can require a separate schedule. Bulk production and freight are quoted separately; sample timing is not a shipping-time promise.
For a meaningful quotation, provide the exact cap base, quantities by color, sewing plan, thread samples or references, artwork, private-label details, packing and destination. LOSTCAPS supports OEM and private-label headwear with 15 years of manufacturing and export experience.
Quote-Ready Contrast Stitching Brief
Copy these fields into your next supplier inquiry:
- Cap type, five- or six-panel pattern, crown profile and visor shape
- Fabric name, color reference and available base-color direction
- Stitch-zone map labeled S1, S2 and so on
- Thread color reference for every zone
- One-line or multiple-line stitching direction
- Reference photographs showing locations and inside finish
- Embroidery, patch, piping and label artwork with dimensions
- Quantity separately for each style and color
- Target sample approval date and final delivery destination
- Assigned person who will sign off the physical sample
Compare styles at custom baseball caps, review supported customization choices at customization options and send the full specification via request a custom headwear quote. The goal is a repeatable approved construction rather than a visual request that different teams interpret differently.
FAQ
Is contrast stitching the same as cap embroidery?
No. Contrast stitching refers here to visible construction or finishing seams. Embroidery forms a logo or decorative artwork. The processes and approvals should be specified separately.
Can one contrast thread be used on every colorway?
Possibly, but the appearance will change with each fabric color and texture. Approve a stitched reference for every colorway instead of assuming the same visual result.
Does contrast stitching change the cap MOQ?
Standard regular caps may start at 50 pieces per color and style, but special thread sourcing or construction can change the practical minimum. Confirm the requested specification before ordering.
Can the stitching be added to any performance cap?
Not necessarily. Needle paths, coatings, stretch, thin fabrics and construction may limit what is suitable. Assess the selected cap and its finish before making performance or waterproof claims.
How long does a physical sample take?
For standard caps, typically 7–10 days after artwork, construction, color references and sample payment are confirmed. Custom development or special materials can take longer.
What is the best way to prevent visible sewing differences in bulk?
Approve a physical sample with a location matrix and photos, and compare production pieces to those exact references using agreed inspection criteria.