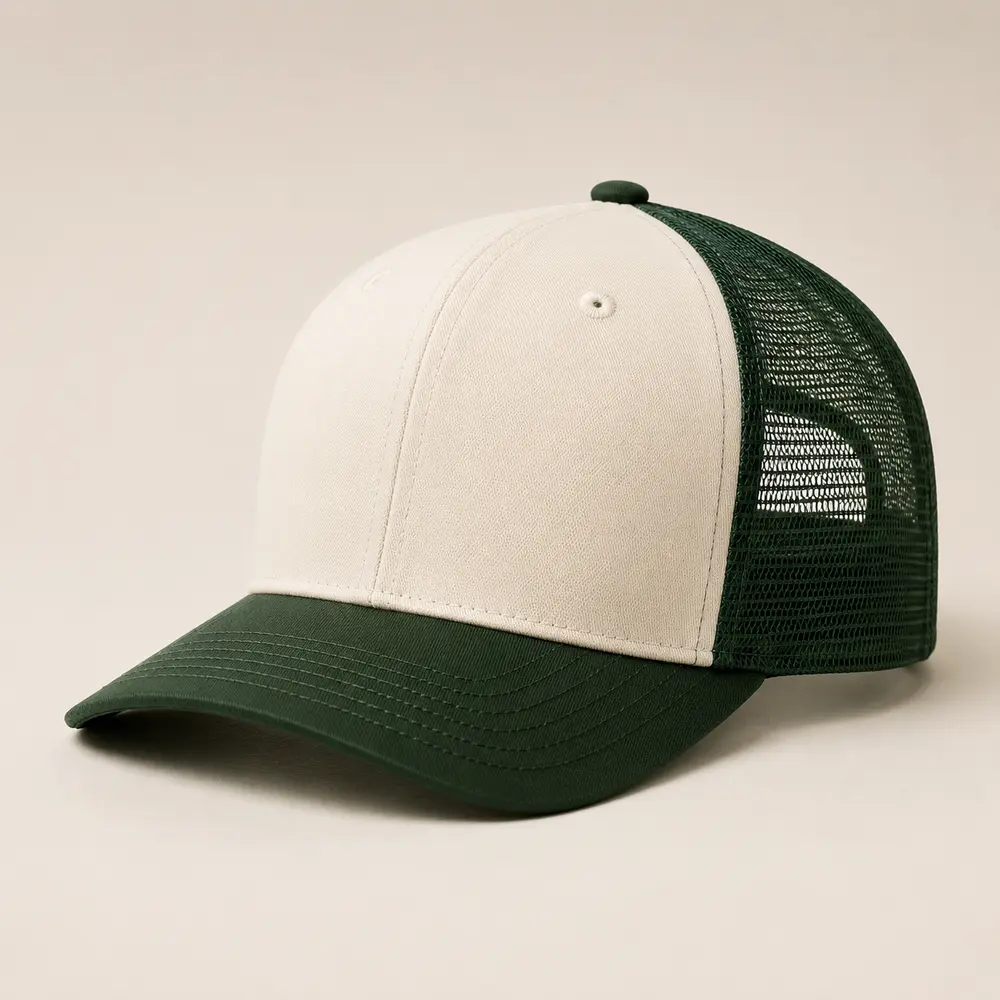
Underbrim printing can turn the underside of a cap visor into a controlled branding area, but it should not be specified as “print under the brim” alone. The buyer must define the cap construction, visor material, final artwork size, print method, placement reference, color target, viewing position and physical-sample checks before bulk production.
This guide is for brands, clubs, distributors and merchandise buyers sourcing custom baseball caps, snapbacks, trucker caps or performance caps with printed artwork beneath the visor. Use it with customization options to compare decoration routes and request a custom headwear quote when the specification is ready for a project review.
Quick answer: what should a buyer approve for underbrim printing?
Approve the complete system, not only the graphic:
- Cap style, visor shape and underside material
- Final print method and whether the visor panel is printed before assembly
- Artwork file, physical dimensions and orientation
- Placement from the visor edge, crown seam and center line
- Color reference and acceptable appearance on the selected base
- Edge clearance, curvature and areas that must remain unprinted
- Visibility when the cap is worn, held or photographed
- Print adhesion, surface appearance and agreed care checks
- One physical sample made with the intended construction
- Written bulk tolerance, packing and approval version
A screen mockup can communicate intent, but the approved physical cap is the reference for position, scale, color and surface quality.
1. Start with the visor construction
Identify the exact underside surface
The same artwork can look different on cotton twill, polyester, nylon or another visor covering. Weave, texture, coating, color and surface energy affect edge definition, ink coverage and the way colors appear. A white artwork file printed on a dark fabric is not automatically opaque, and a fine pattern may soften on a textured surface.
Record the underside fabric separately from the crown fabric when they differ. State the fiber or fabric direction only when it is confirmed for the selected cap. Do not infer waterproofing, UV protection or other performance from a visual finish.
Confirm the finished visor shape
A flat snapback visor, a lightly curved baseball visor and a performance-cap visor create different visible areas. The design may be applied to a flat cut panel before the visor is assembled and curved. That production sequence can change how a straight line looks on the finished cap.
Approve the artwork on the final visor shape. Check the cap from the front, side and underside, and check it while worn. A graphic that looks centered on a flat panel can appear high, low or distorted after curving.
2. Choose a printing route that suits the material and artwork
Common routes can include screen printing, heat transfer or another supplier-confirmed print process. The best route depends on the selected surface, artwork coverage, color count, quantity and required hand feel.
Screen printing
Screen printing can suit bold graphics and controlled color areas when the fabric and production setup are compatible. Buyers should confirm ink coverage, opacity, registration, edge quality and whether the print is applied before visor assembly. Ask how the selected ink and fabric combination will be sampled; do not approve only from a generic printed swatch.
Heat transfer
A transfer can support multicolor or fine graphic work, but the buyer must approve film or transfer type, heat exposure, pressure marks, edge behavior and flexibility on the actual visor material. Curvature and seams can make a process that works on a flat apparel panel unsuitable for a completed cap.
Other print methods
Some artwork or materials may call for a supplier-specific process. Ask the supplier to name the actual method, base material and approval checks in the quotation. “Digital print” or “full color” alone is not a complete specification.
If the artwork is better suited to embroidery, a patch or another decoration, compare alternatives through Embroidery, Patch or Print: Which Logo Method? before sampling.
3. Prepare artwork at final physical size
Provide editable vector artwork when possible and include a labelled visual preview. State the final width and height in millimeters. If the design fills most of the underside, provide the exact safe area and show how the art aligns to the center line and visor edge.
Keep essential details away from risky areas
Do not place critical text or small marks directly against the outer edge, crown seam, stitch lines or areas likely to be trimmed during assembly. Agree a minimum clearance after the supplier reviews the actual pattern. The usable artwork area is not necessarily the full visible underside.
For repeating patterns, define the repeat size, direction, crop behavior and whether a partial motif at the edge is acceptable. For a single logo, define the orientation from the wearer’s perspective and from a viewer looking at the cap.
Control text and variable artwork
Check spelling, trademark symbols, numbers and directional graphics at 100% scale. If different teams, events or SKUs use different artwork, create a version matrix linking each cap color and style to the correct underbrim file. Approve one labelled proof per version.
Use How to Prepare Logo Artwork for Custom Hat Embroidery: A B2B File Checklist for general file-control principles even when the final method is printing. The dimensions and revision-control steps remain useful.
4. Specify placement with measurable reference points
“Centered under the brim” can be interpreted differently. Record at least:
- Distance from the crown-to-visor seam or rear visor edge
- Distance from the outer visor edge
- Center alignment to the cap front panel or visor pattern
- Final artwork width and height
- Orientation when the cap is worn
- Allowed movement in bulk production
Add a top or underside diagram with dimensions. If the design wraps toward both sides, mark the intended left and right limits. If the outer edge has multiple rows of stitching, identify whether the artwork sits inside those rows or behind them.
For broader logo-placement planning, read How to Specify Logo Placement on a Custom Cap: A B2B Buyer Guide and keep all decoration positions in one approved specification.
5. Approve color on the selected base material
A digital Pantone or RGB value is a target, not a physical approval. The underside fabric color can influence the printed result, especially for light ink on dark fabric or transparent print layers.
Ask for the intended base material, print colors and physical sample together. View them under consistent lighting and compare against the agreed reference. If exact brand color is critical, define whether the target applies to the ink itself or to the final appearance on the cap.
When the crown, visor top, underbrim and print all use related colors, approve them as one cap. A print may be individually close to a target yet visually mismatched beside the visor-top fabric or embroidery thread. See Pantone Color Matching for Custom Hats: A B2B Buyer’s Approval Guide for the broader color process.
6. Check visibility and buyer intent
Underbrim graphics are not always visible in a standard front product photo. Decide why the area is being used:
- A reveal detail for retail or streetwear
- A club or team message seen when the visor is lifted
- A repeating brand pattern
- An event, sponsor or campaign graphic
- A contrast color block supporting the cap design
Then approve the cap in the intended viewing condition. Photograph the sample from a normal front view, a low angle and a clear underside view. If the graphic must appear in e-commerce images, plan that photography rather than assuming buyers will notice it.
The underbrim should support the overall product. Avoid placing important legal, care or identification information only in a location that is hard to read; use appropriate inside labels when those details are required.
7. Test adhesion, surface and care expectations
Agree practical checks for the exact print system and cap:
- Inspect for lifting, cracking, pinholes, blurred edges or incomplete coverage
- Gently flex the finished visor through the agreed range and recheck the print
- Check whether the surface sticks, blocks or transfers during packing
- Review color rub or abrasion only with an agreed method
- Apply the project’s approved care instruction and inspect the result
- Confirm that any test is appropriate for the cap construction
Do not invent pass/fail claims such as “washproof” or “fadeproof” without a defined test and evidence. If the buyer needs a destination-market or performance requirement, state the standard and required documentation before quoting.
8. Coordinate the underbrim with other cap decoration
A cap can combine underbrim printing with front embroidery, side logos, a rear mark, patches, inside labels and hangtags. Place all elements on one approval sheet so they do not compete or contradict each other.
Check that:
- The underbrim graphic is oriented consistently with the front logo
- Thread, print and fabric colors use the approved palette
- Side or front embroidery does not pull the visor seam or change alignment
- Inside labels do not repeat outdated artwork or claims
- Hangtags and packaging use the correct SKU and revision
For a new program, the commercial starting points in custom baseball caps and custom snapback caps can help define the cap silhouette before decoration is finalized.
9. MOQ, samples and quotation conditions
For regular baseball, trucker and snapback cap programs, the LOSTCAPS business baseline starts from 50 pieces per color and design when the selected construction and decoration are feasible. Different colors or designs should not be combined to reach one 50-piece minimum. Custom fabrics, special colors, complex print setup or structural changes can increase the practical minimum.
A typical cap sample is planned at 7–10 days after the specification, artwork, materials and payment are confirmed. This is a planning baseline, not a fixed promise for every underbrim process. Bulk timing should be confirmed after physical-sample approval, final quantity, color split and packing are known.
Ask the quotation to separate:
- Cap style and visor construction
- Underbrim material and base color
- Print method, number of colors and artwork versions
- Sample, setup or screen charges
- Optional labels, hangtags and individual packing
- Quantity by style and color
- Delivery term, destination and freight assumptions
- Revision rules and approval milestones
A lower unit price is not comparable if it uses a different fabric, print method, artwork coverage or packing requirement.
10. Physical sample approval checklist
Use the actual assembled cap and record the revision being approved.
- Confirm cap style, crown profile, visor length, width and curve
- Check underside fabric, color, weave and surface
- Measure artwork width, height and reference-point distances
- Inspect orientation, centering, edge clearance and crop
- Verify all text, numbers, repeat direction and file version
- Check opacity, color, edge quality and surface consistency
- Flex the visor through the agreed range and inspect the print again
- Compare underbrim, crown, visor-top and other logo colors together
- Check front, side, worn and underside views
- Confirm labels, hangtags, packing and SKU mapping
- Save approved photos, dimensions, file names and the physical sample
If any change is made to visor material, curve, artwork scale, print method or color after approval, confirm whether a new sample is required.
11. Quote-ready underbrim printing brief
Send one consolidated brief containing:
- Intended use and target market
- Cap style, reference photos and required fit
- Crown, visor-top and underside materials and colors
- Final visor shape and any measurement requirements
- Editable artwork plus a labelled preview
- Finished artwork dimensions and placement references
- Print method preference or open request for supplier recommendation
- Color references and critical brand-color rules
- Quantity per style, color and artwork version
- Labels, hangtags and packaging
- Delivery country and required date
- Person responsible for physical-sample approval
With 15 years of manufacturing and export experience, LOSTCAPS can review a defined cap brief and advise which details require sampling. The next step is a project-specific feasibility and quotation check through request a custom headwear quote, not an assumption that every artwork and material combination will use the same method or minimum.
FAQ
What is the best method for printing under a cap brim?
There is no universal best method. Screen printing, heat transfer or another confirmed route may fit depending on the visor material, artwork, coverage, color count, quantity and required surface. Approve the selected method on the actual cap.
Should underbrim artwork be supplied as a full visor shape?
For large coverage or repeating patterns, a pattern-aligned file can be useful, but the supplier should provide the actual safe area or template. Also include physical dimensions, center line, orientation and edge clearance.
Can a full-color image be printed under the visor?
A supplier may offer a full-color route for compatible materials, but resolution, color, hand feel, curvature and durability must be sampled. A digital image does not prove the finished result.
How close can artwork be to the visor edge?
The safe distance depends on the visor pattern, stitching, trimming and assembly. Ask the supplier to confirm a measurable clearance for the selected construction and approve it on the physical sample.
Does the graphic look the same after the visor is curved?
Not always. Curvature changes the viewing angle and can visually distort straight lines or large patterns. Approve the finished cap in its intended curve and worn position.
What MOQ applies to custom caps with underbrim printing?
Regular baseball, trucker and snapback projects generally start from 50 pieces per color and design when the selected construction is feasible. Special fabric, custom colors, print setup or structure changes can raise the practical minimum.
What must be approved before bulk production?
Approve the cap construction, underside material, final artwork file, dimensions, placement, color, print quality, visor shape, other decoration, labels, packing and written revision. Keep the physical sample as the production reference.