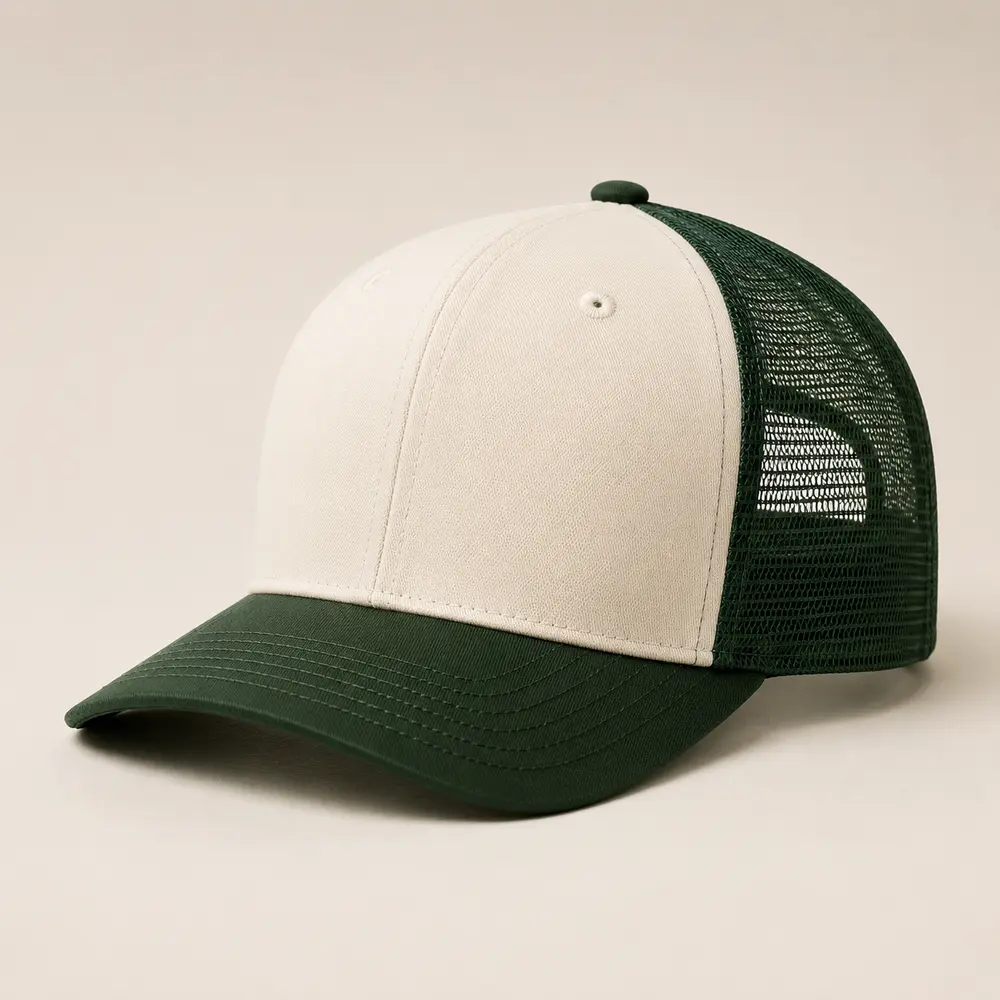
Piping can add a controlled contrast line to a cap, but “add piping” is not a production-ready instruction. A buyer must specify where the piping sits, what creates its raised profile, how it is covered, which seams carry it, how the ends are finished and how it interacts with the visor and logo.
This guide helps brands, clubs, distributors and merchandise buyers prepare a quote-ready custom cap piping brief and approve the finished physical sample before bulk production.
Quick Answer: What Must a Buyer Approve?
Approve the piping on the actual selected cap. Record:
- Cap style, crown profile, panel construction and visor shape
- Exact piping location: panel seam, crown edge, visor edge or another confirmed line
- Cord or filler reference and finished visible diameter
- Cover fabric, color and texture
- Continuous or segmented construction
- Start, stop and end-finishing points
- Stitch line, seam allowance and inside finishing
- Spacing from embroidery, patches, eyelets and visor rows
- Front, side, rear and worn appearance
- Approved physical sample and controlled specification version
- Bulk inspection and change-control rules
A digital mock-up can show a color line. It cannot prove the raised profile, seam bulk, curve, symmetry, end finishing or how the piping changes the finished cap shape.
1. Select the Cap Construction First
Piping follows a physical seam or edge, so the cap pattern must be confirmed before the trim. A structured six-panel baseball cap, foam-front trucker, five-panel cap and soft unstructured crown have different seam paths, curves and available attachment areas.
Confirm which seam carries the piping
Mark the exact seam or edge on front, side, rear and underside views. Do not rely on wording such as “around the crown” because it can describe several different construction routes.
2. Choose the Piping Location
Common directions may include piping within selected crown-panel seams, along a crown-to-visor junction, around a visor edge or on another supplier-confirmed pattern line. Each location changes appearance, sewing sequence, bulk and cost.
For every line, record:
- Start and stop points
- Wearer-left and wearer-right orientation
- Whether the line continues behind the cap
- Whether it crosses or stops at another seam
- How it meets the closure, sweatband or visor
- Which side of the seam shows the raised profile
A reference photo should be annotated with arrows and labels so the production team does not have to infer the route.
3. Define the Cord or Filler Construction
The visible raised line may use a cord, filler or another supplier-confirmed construction covered by fabric. Ask the supplier to identify the proposed internal reference and finished profile.
Record:
- Supplier cord or filler reference
- Finished outside diameter after covering
- Flexibility and recovery direction
- Round, flat or other confirmed profile
- Cover material
- End-finishing method
- Approved sample reference
Do not infer fiber content, recycled content, water resistance or durability from appearance. If a material claim matters, request suitable specification or documentation.
4. Approve Diameter by the Finished Effect
A small change in diameter can make the piping look subtle, heavy or uneven. The selected diameter must work with the cap seam allowance, fabric thickness, curve and nearby decoration.
Avoid a universal standard
There is no single piping diameter for every cap. Compare the candidate construction on the selected cap, then record the approved visible profile or supplier reference. Photograph the front and both side views.
Measure the finished feature consistently. The raw cord diameter and the visible fabric-covered profile are not always the same number.
5. Select the Cover Fabric and Color
Piping can match the main cap, use a contrast color or coordinate with embroidery, mesh, underbrim, closure or private-label details. Specify the cover material and color separately from the internal filler.
Textured or folded fabric can reflect light differently from the flat crown panel. A shared color name does not guarantee an identical visual result across cotton, polyester, mesh, corduroy, thread and piping.
Use a physical reference or approved sample where close matching matters. The broader color approval process is explained in Pantone Color Matching for Custom Hats: A B2B Buyer’s Approval Guide.
6. Control Seam Placement and Symmetry
Piping must follow the intended seam without wandering, twisting or changing height. Establish stable physical reference points rather than approving a vague visual direction.
Check:
- Distance from the front center line
- Left-right symmetry
- Relationship to panel seams and eyelets
- Curve around the crown or visor
- Visible diameter along the complete line
- Start and stop position
- Any join or splice
- Stitch distance from the raised edge
Review the cap on a suitable head form or representative wearer. A flat-table view can hide asymmetry or pressure that appears when the crown is shaped.
7. Approve Start, Stop and End Finishing
A clean piping line can still fail visually where it begins, ends or joins another seam. Mark whether the ends are tucked into seams, folded, overlapped or finished by another confirmed method.
Inspect:
- Exposed cut edges
- Fraying or loose fibers
- Bulky seam intersections
- Uneven lengths
- Color gaps at joins
- Twisted cover fabric
- Hard or sharp wearer-contact points
- Distortion where the piping terminates
The approved end construction should be documented with close-up photos.
8. Coordinate Piping with Logos and Other Trims
Front embroidery, patches, eyelets, seam tape, buttons and closures can compete with or physically restrict the piping route. Approve all visible elements together on the finished cap.
For a front logo, record the finished width, height and placement, then confirm its visual clearance from the piping. A raised seam line can make nearby lettering look off-center even when the artwork measurement is correct.
Use customization options to compare decoration and trim directions. For the broader component system, review Custom Cap Details Explained: Eyelets, Top Buttons, Seam Tapes & Closures.
9. Check Visor-Edge and Curved Routes Carefully
When piping follows a visor edge or another tight curve, inspect whether the visible diameter stays consistent and the cover fabric remains smooth. The piping should not create uncontrolled ripples, sharp corners or an uneven visor outline.
Check the approved visor before and after its final curve direction. A trim that looks even on a flat visor may shift when the brim is pre-curved or shaped.
Do not assume a visor-edge piping construction can transfer unchanged to a different visor thickness, shape or stiffness.
10. Review the Inside Finish and Comfort
Turn the cap inside out and inspect the piping seam. Confirm that seam allowance, stitch buildup and cord ends do not interfere with the sweatband, seam tape, labels or wearer-contact areas.
Check for:
- Loose threads
- Excessive seam bulk
- Uncovered ends
- Rough or hard points
- Folded seam allowance
- Interference with eyelets
- Distortion of the sweatband
- Clean tape or lining where used
The piping is an exterior design feature, but its sewing becomes part of the complete crown construction.
11. Physical Sample Approval Checklist
- Confirm the cap style, pattern, crown profile and visor
- Mark every piping line on annotated views
- Identify the cord or filler reference
- Measure the finished visible diameter
- Confirm cover fabric, texture and color
- Check the complete seam path and symmetry
- Inspect start, stop, join and end finishing
- Review curves, corners and seam intersections
- Confirm clearance from logos, patches and eyelets
- Check visor piping before and after the approved curve
- Inspect inside finishing and wearer-contact areas
- Review the cap from front, sides, rear and worn angles
- Photograph the approved sample under consistent lighting
- Save the physical sample and specification version
- Require reapproval if the cap, piping, diameter, color or route changes
12. Bulk Production and Quality Control
Use the approved sample as the construction and visual reference. Representative bulk checks should confirm:
- Correct cap style and colorway
- Correct piping route and cover material
- Consistent visible diameter
- Left-right symmetry
- Smooth curves and seam intersections
- Clean start, stop and joins
- No obvious twisting, fraying or gaps
- Correct logo clearance
- Clean inside finishing
- Correct labels, packing and SKU identification
Agree the inspection method before production. Do not create a new visual standard after the order is complete.
13. MOQ, Sampling and Quotation Conditions
For regular baseball, trucker and snapback caps, the established LOSTCAPS baseline starts from 50 pieces per color and design when the selected cap, piping construction and decoration are feasible. Different colors or designs should not be combined to reach one 50-piece minimum.
A custom-dyed piping color, non-standard cord, new pattern route, complex seam combination, labels or packaging can change the practical minimum, setup and price. Confirm conditions for the exact specification.
A physical cap sample is generally planned at 7–10 days after the cap, artwork, piping route, color and payment are confirmed. This is a planning baseline, not a fixed promise for every special trim construction. Production and shipping time are separate.
Ask the quotation to separate the cap base, piping construction, decoration, labels, packing, sample or setup, freight and delivery term.
Quote-Ready Custom Cap Piping Brief
Send:
- Cap style, crown profile, panel pattern and visor direction
- Annotated front, side, rear and underside references
- Exact piping route and start/stop points
- Cord or filler reference and visible diameter direction
- Cover fabric and color reference
- Logo artwork, dimensions and placement
- Quantity per color and design
- Labels, hangtags and packing requirements
- Delivery country and target date
- Person responsible for sample approval
Review regular crown directions at custom baseball cap manufacturing, compare trim and logo options at customization options, or send the complete brief through request a custom headwear quote.
FAQ
What is piping on a custom cap?
Piping is a raised or defined trim line sewn into a selected seam or edge. Its appearance depends on the cap pattern, filler, cover fabric, diameter, route and sewing.
Where can piping be placed?
It may follow selected panel seams, a crown edge, a visor edge or another supplier-confirmed pattern line. The exact route must be marked on the chosen cap construction.
What diameter should cap piping use?
There is no universal diameter. Approve the visible profile on the actual cap because fabric thickness, seam allowance, crown curve and desired visual weight all affect the result.
Can piping match a Pantone color exactly?
The requested color can be reviewed, but different materials and folded surfaces reflect light differently. Approve the actual cover fabric beside the cap and decoration.
Can piping be added to any cap style?
Not automatically. Pattern seams, visor construction, sewing access, inside finishing and nearby decoration must be checked on the selected cap.
What MOQ applies to custom cap piping?
Regular baseball, trucker and snapback projects generally start from 50 pieces per color and design when the selected cap and piping route are feasible. Special colors, cords or pattern changes may require a higher project-specific minimum.
Should buyers approve a physical sample?
Yes. A physical sample is needed to judge diameter, route, symmetry, curves, end finishing, color, logo clearance, crown shape and inside comfort.