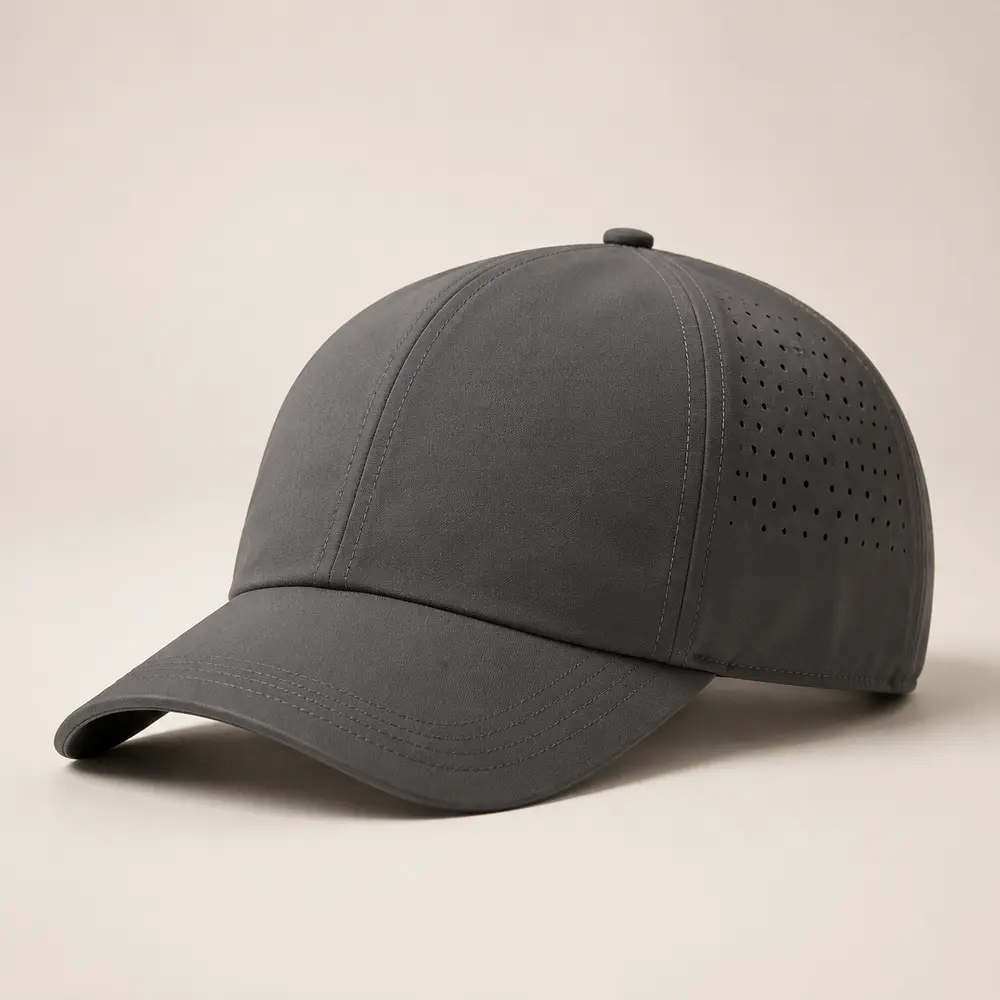
Silicone patches can give custom caps a clean, technical and weather-resistant visual direction, but the result depends on more than choosing “silicone” from a decoration list. Buyers should define the patch construction, finished size, thickness, colors, edge shape, surface finish, attachment method and placement before approving bulk production.
Quick answer: what should a silicone cap patch brief include?
Send the cap style and fabric, editable logo artwork, finished patch width and height, requested thickness, color references, flat or raised details, edge shape, surface finish, placement dimensions, attachment method, quantities by color and delivery market. Ask the supplier to confirm minimum line widths, tooling or mold requirements and whether the selected cap panel supports the proposed patch.
Decide whether silicone suits the design
Silicone patches can support bold symbols, simple wordmarks and layered relief effects. They are often considered for performance, outdoor, workwear and streetwear caps where a smooth molded detail fits the brand direction.
Do not choose the method only because a digital mockup looks sharp. Very fine lettering, narrow gaps, gradients and photographic detail may not reproduce clearly in a molded patch. Compare the artwork with embroidery, woven patches and print through Embroidery, Patch or Print: Which Logo Method? before committing to one process.
Specify the patch construction
Flat surface or raised relief
A flat patch keeps the face simple, while raised areas can add depth to selected letters, borders or symbols. Define which parts are raised and which remain recessed. A general request for “3D” is not enough for production.
One color or multiple colors
List every visible color separately and provide an agreed color reference. Adjacent colors need enough separation for the proposed construction. Confirm whether the patch background is transparent, translucent or opaque, and check the appearance against the actual cap fabric.
Edge and shape
State whether the patch follows a rectangle, circle, oval or custom contour. Approve corner radius, border width and any cut-out areas. The outside shape affects how the patch sits on a curved crown and how much sewing or bonding area is available.
Thickness and flexibility
Patch thickness affects weight, flexibility and visual depth. Ask the supplier to recommend a practical range for the logo size and cap panel, then approve the finished sample. A thicker patch is not automatically more premium if it pulls on a lightweight fabric or feels rigid on the crown.
Confirm artwork limits before tooling
Provide vector artwork when available and state the physical finished size in millimeters. The supplier should review:
- Minimum readable letter height.
- Minimum line and gap width.
- Spacing between raised and recessed areas.
- Border thickness and corner radius.
- Number of colors and color separation.
- Whether small trademarks or symbols remain legible.
- Orientation and placement on the cap.
Simplifying tiny details before tooling is usually more controlled than discovering that they fill in or disappear on the finished patch. Keep one approved artwork version and do not mix it with earlier mockups.
Choose the attachment method
Silicone patches may be sewn, bonded or applied through another compatible method depending on the patch construction and cap fabric. The supplier should confirm the proposed method rather than the buyer assuming that every silicone patch is attached the same way.
For a sewn patch, inspect the stitch line, thread color, corners and the inside backing area. For a bonded application, approve edge adhesion, surface compatibility and any visible pressure or heat marks on the actual cap fabric. Lightweight nylon, stretch materials, washed cotton and structured twill can respond differently.
Measure placement on the finished cap
Record the patch position from stable reference points such as the center front, visor seam, panel seam or lower crown edge. Approve:
- Finished patch width and height.
- Distance from the visor seam.
- Center alignment or intentional offset.
- Clearance from panel seams and eyelets.
- Orientation on the worn cap.
- Appearance from front and three-quarter views.
A flat digital proof cannot show how the patch follows crown curvature. Use a one-to-one paper placement proof for scale, then confirm the final result on a physical sample. Review How to Specify Logo Placement on a Custom Cap: A B2B Buyer Guide for a broader placement checklist.
Match the patch to the cap fabric
A rigid or heavy patch can distort a soft crown. A large patch can reduce flexibility on a performance panel. Washed fabrics may also create visual contrast between a new molded patch and a deliberately faded cap body.
Test the actual combination. Check whether the panel remains smooth, whether the patch edges lift, and whether the inside construction stays comfortable. For technical caps, confirm that the decoration does not cover required ventilation or interfere with stretch zones.
Sample and quality-control checklist
- Verify the approved artwork version and finished patch dimensions.
- Measure thickness and confirm the requested relief areas.
- Compare every visible color with the approved reference.
- Check surface finish, edges, corners and custom contours.
- Inspect sewing, bonding or other attachment quality.
- Confirm placement from the agreed reference points.
- Check the crown for puckering, pressure marks or distortion.
- Inspect the inside panel and backing for comfort.
- Review the cap from front, side and three-quarter views.
- Test normal flexing and the agreed care method on the sample.
- Record the approved patch and cap specification for bulk inspection.
Bulk units should be compared with the approved physical sample and written specification. Agree reasonable tolerances with the supplier before production.
MOQ, tooling and quotation inputs
A standard cap may start from 50 pieces, but a custom molded silicone patch can introduce separate tooling, color or component minimums. The practical MOQ depends on the patch design, size, colors, attachment method, cap style and quantity split. Confirm whether the quoted setup or mold can be reused for a repeat order.
For a quote-ready request, send the cap reference, fabric and color, vector logo, finished patch size, color references, quantities by style and color, private-label requirements, packaging, destination and target date. Review customization options and use request a custom headwear quote for a project-specific quotation.
FAQ
Is a silicone patch the same as a rubber patch?
The terms are sometimes used loosely in product discussions, but material and performance can differ. Ask the supplier to state the actual proposed material and approve the finished sample.
Can very small text be molded into a silicone patch?
Possibly, but readability depends on the finished size, line width, depth and color contrast. Let the supplier review the artwork at physical size before tooling.
Can a silicone patch be used on lightweight performance caps?
It can be considered when the size, weight, flexibility and attachment suit the selected fabric. Test the actual panel for distortion, comfort and edge security.
Does a silicone patch require a mold or setup charge?
Custom molded designs may require tooling or setup. Confirm the cost, ownership or reuse terms and repeat-order implications in the quotation.
What is the MOQ for custom silicone patch caps?
MOQ depends on both the cap program and the custom patch requirements. Standard cap programs may start from 50 pieces, while special tooling, colors or materials can require a higher project-specific minimum.